CS 101
Algorithms and Programming I
Installing Java and JCreator on your computer
In order to experiment Java programming on your own computer you have to install Java Development Kit (JDK), if it is not already installed. Also an Integrated Development Environment (IDE) is helpful. In the class lectures and also in the labs we will use JCreator as the IDE. JCreator is available only for Windows operating systems. In the rest of this document, you will find a detailed explanation for preparing your computer for the CS 101 course, by installing JDK and JCreator.
You should install JDK first and then JCreator.
1. Installing JDK:
1.1. Download the most recent JDK
1.1.1. Start an internet browser
1.1.2. Go to the page "http://www.oracle.com/technetwork/java/javase/downloads/index.html".
1.1.3. Click the icon about Java Platform (JDK) Download, as shown below:
1.1.4. Accept the License Agreement
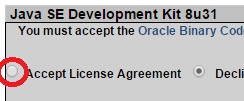
1.1.5. Click the link jdk-8u31-windows-x64.exe. If your computer running 32 bit operating system (Windows x86), you must download jdk-8u31-windows-i586.exe.

1.1.6. Go back to the page "http://www.oracle.com/technetwork/java/javase/downloads/index.html".
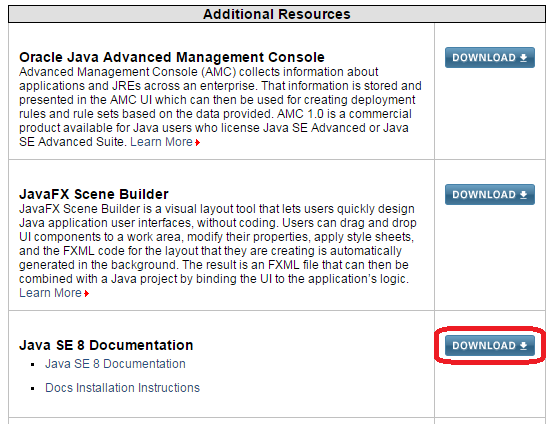
1.1.7. Scroll down to the section called "Additional Resources" Click the icon labelled "Download", as shown below:
1.1.8. Accept the license agreement.
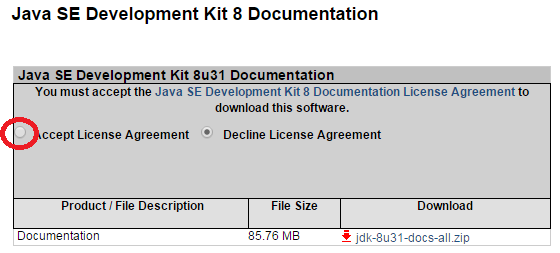
1.1.9. Download the docs-all.zip file.

1.2. Installing JDK
1.2.1. Start the installation by clicking the "jdk-8u31-windows-x64.exe" file or "jdk-8u31-windows-i586.exe" that you just downloaded.
1.2.2. Click "Yes" to the question "Do you want to allow the following program to make changes to this computer?"
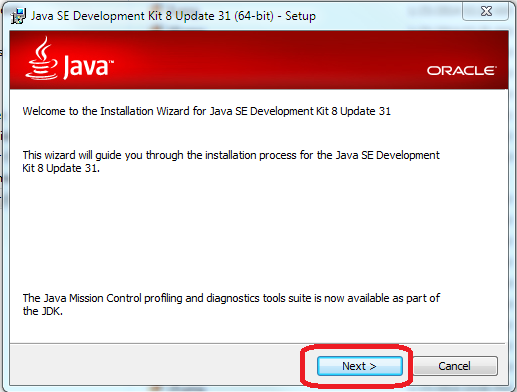
1.2.3. Press the "Next" button.
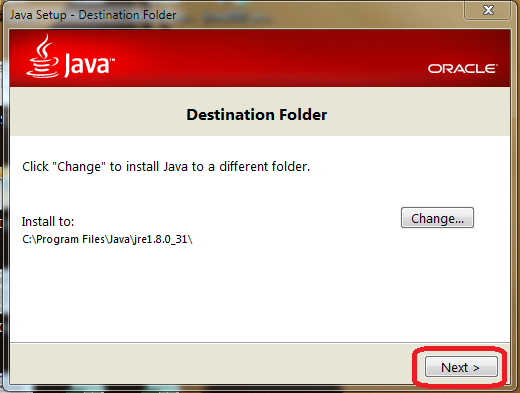
1.2.4. Press the "Next" button again.

Wait during the installation of the JDK.
1.2.5. Press next for installing JRE.
Wait during the installation of the JRE.
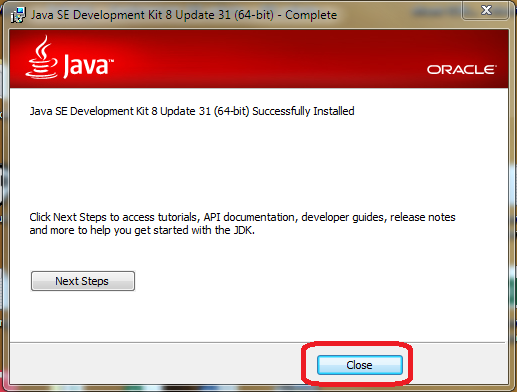
1.2.6. Press "Close" button to complete the installation of the JDK.
1.3. Check the installation folder
1.3.1. Click the "Computer icon.

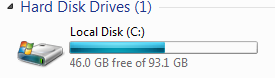
1.3.2. Click the "Local Disk (C:)
1.3.3. Then click "Program Files". You should see a folder named "Java".

1.3.4. Click that folder named "Java". The contents of the folder should look like the following:

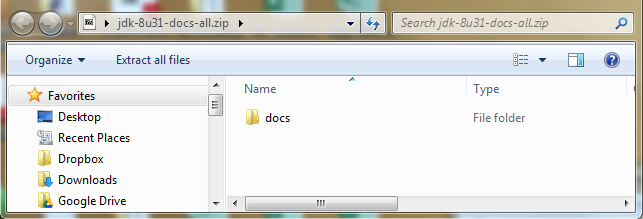
1.3.5. Unzip the "jdk-8u31-docs-all.zip" file by double clicking in the folder you downloaded.
You should see the folder "docs" as shown below:
1.3.6. Drag the "docs" folder in the zip window into the "Java" window.
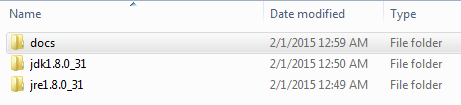
1.3.7. The contents of the "Java" window should contain three folders as shown below:
2. Installing JCreator:
2.1. Download JCreator LE version
2.1.1. Start an internet browser
2.1.2. Go to the page http://www.jcreator.org/download.htm.
2.1.3. Click the "Download" button next to "JCreator Classics, as shown below:

(You can also download jcrea500_setup.exe here.
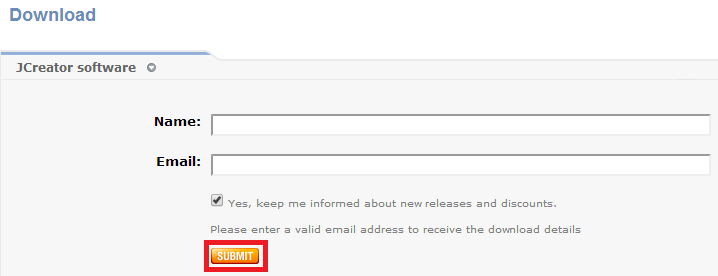
2.1.4. Fill in your name and email address and press the "SUBMIT" button.
Do not use Turkish characters in the name area.
You can uncheck "Yes, keep me informed about new releases and discounts" part
if do not want to get emails about JCreator.
2.1.5. Wait for an email message from JCreator to the address that you gave.
2.1.6. Open the message. Copy the line under the sentence "Thank you for your interest in JCreator LE. You can download the setup file from the following url:" below:

2.1.7. Paste it into the address field on your internet browser.
2.1.8. Wait for the download to complete. The name of the file is "jcrea450_setup.exe".
2.2. Install JCreator LE version
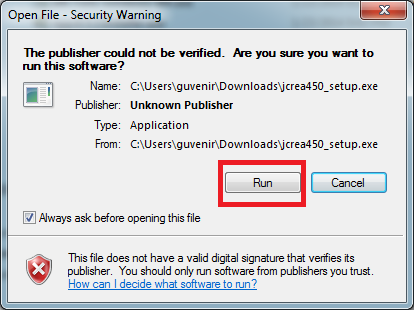
2.2.1. Click the "jcrea450_setup.exe" file to start installation
2.2.2. Click the "Run" button.
2.2.3. Press the "Yes" button.
2.2.4. Press the "Next" button.
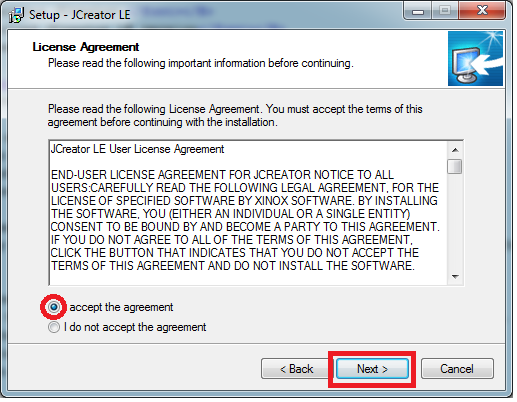
2.2.5. Select "I accept the agreement" then press the "Next" button.
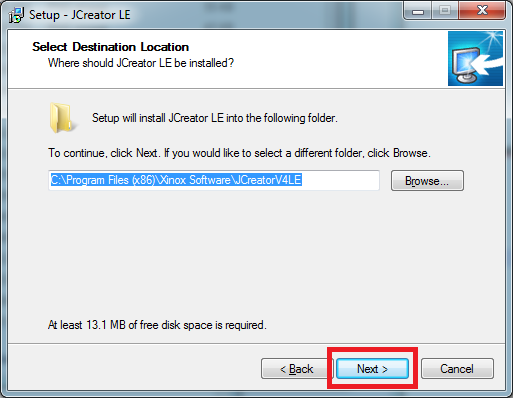
2.2.6. Keep the default destination location. Just press the "Next" button.
2.2.7. Press the "Yes" button for folder creation window.

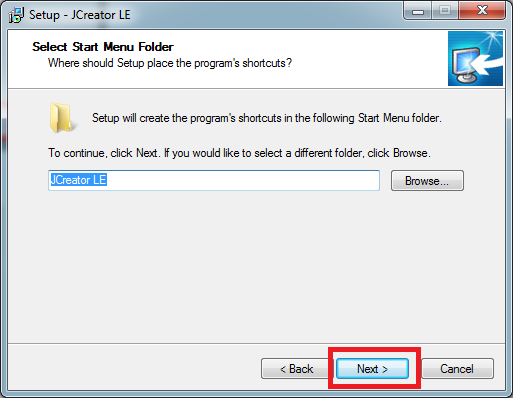
2.2.8. Press the "Next" button for the start menu folder.
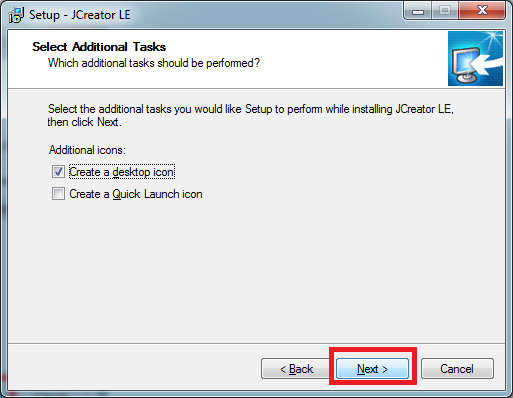
2.2.9. Press the "Next" button for the additional tasks.
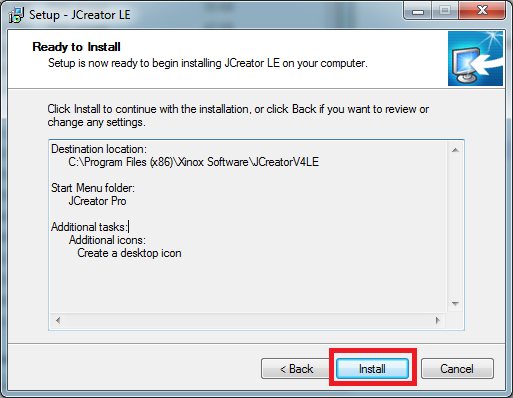
2.2.10. Press the "Install" button to start installation.
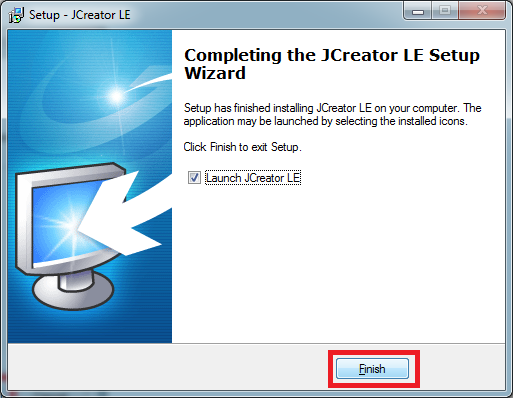
2.2.11. Press the "Finish" button to end installation.
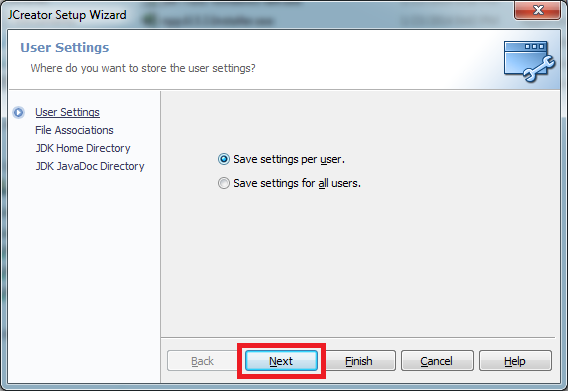
2.3. Setup the JCreator
2.3.1. The JCreator setup wizard window will open. Press the "Next" button.
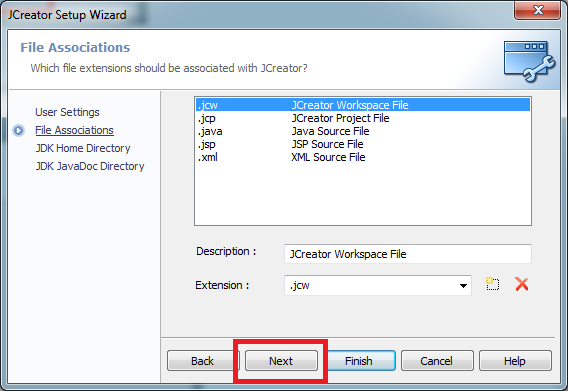
2.3.2. Press "Next" on the file association window.
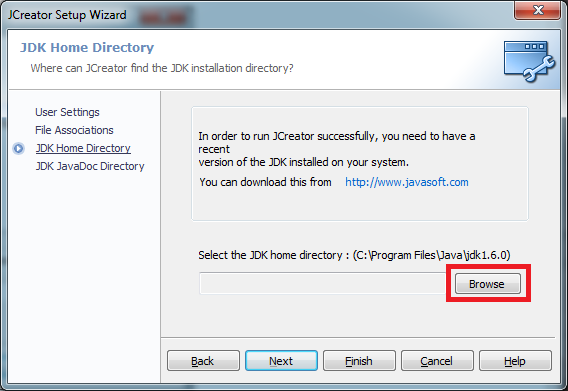
2.3.3. On the JDK Home Directory Window, press the "Browse" button.
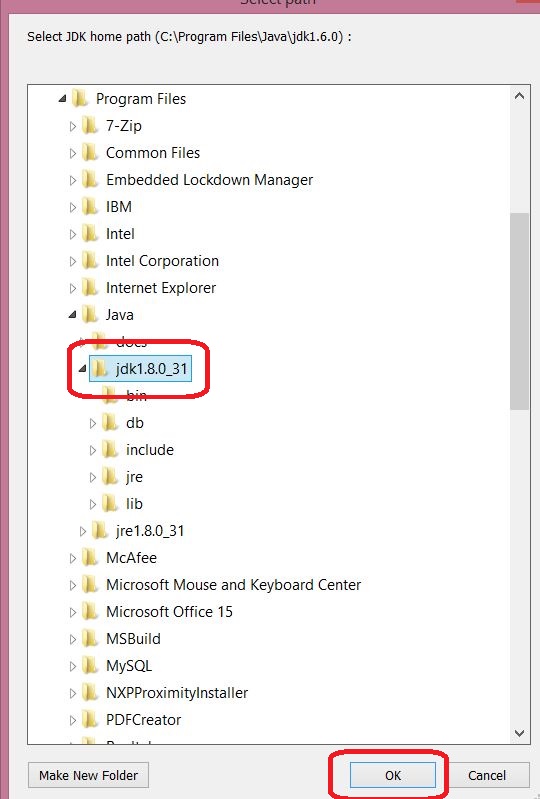
2.3.4. Click "Computer", "Local Disk (C:)", "Program Files", "Java", "jdk1.7.0_51", in this order. Then press the "OK" button.
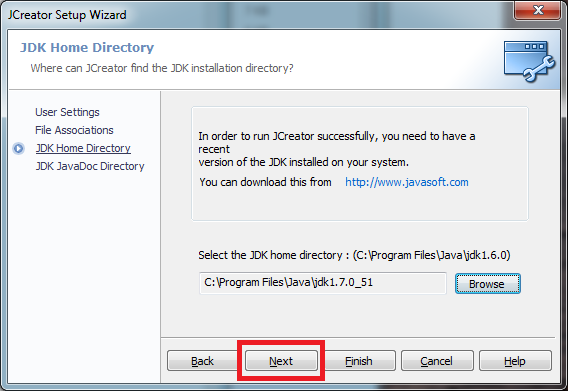
2.3.5. Press the "Next" button.
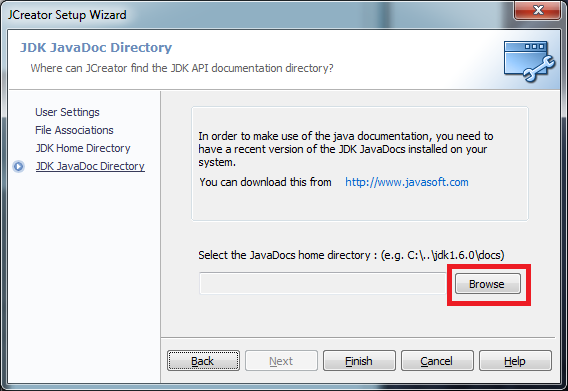
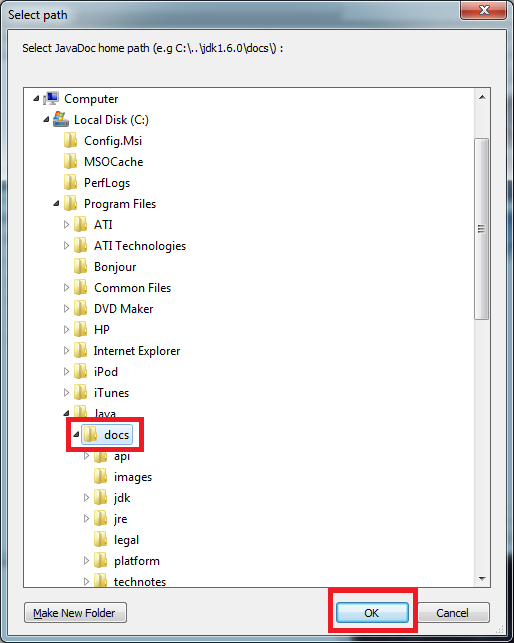
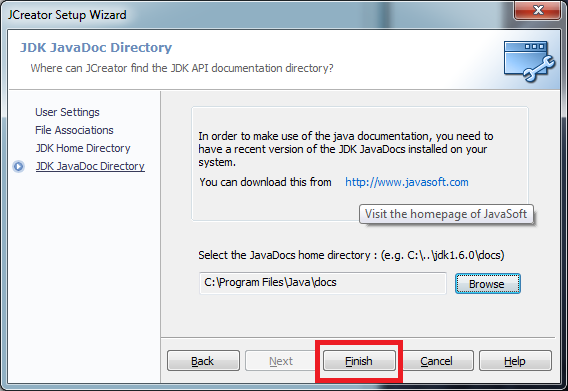
2.3.6. Click the "Browse" button on the JDK JavaDoc Directory.
2.3.7. Click "Computer", "Local Disk (C:)", "Program Files", "Java", "doc", in this order. Then press the "OK" button.
2.3.8. Press "Finish" to complete the setup.
3. Running JCreator:
3.1. Edit Source Code
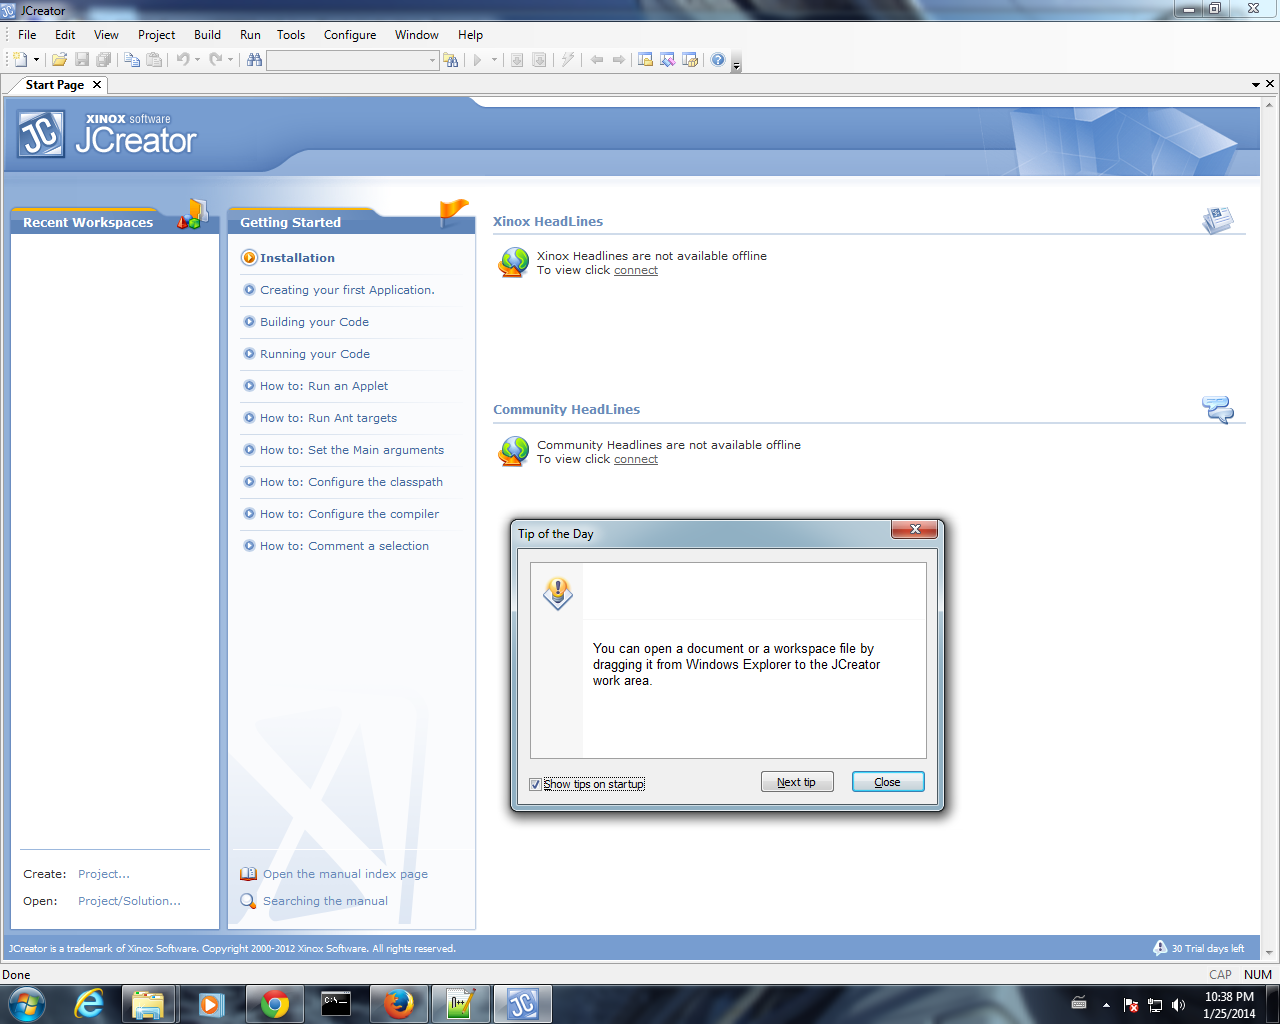
3.1.1. The "Start Page" will open. Press "Close" to close the tip window.
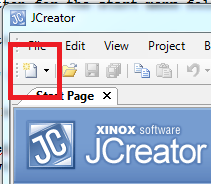
3.1.2. Press the "New File" icon on the upper left corner.
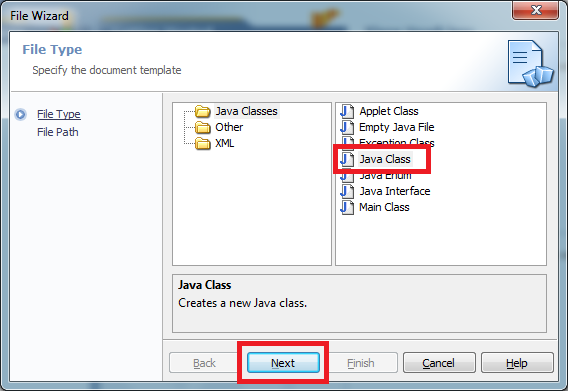
3.1.3. Make sure "Java Class" highlighted, press the "Next" button.
3.1.4. Type HelloWorld in the "Name" area. Press the "Finish" button.

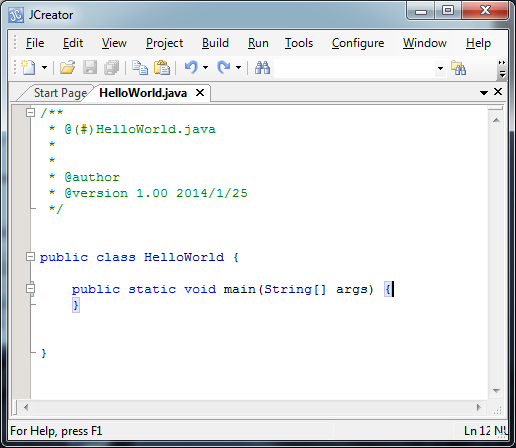
3.1.5. A window by the name "HelloWorld.java" will open. This is the source code that you will edit. It contains some default code as shown below:

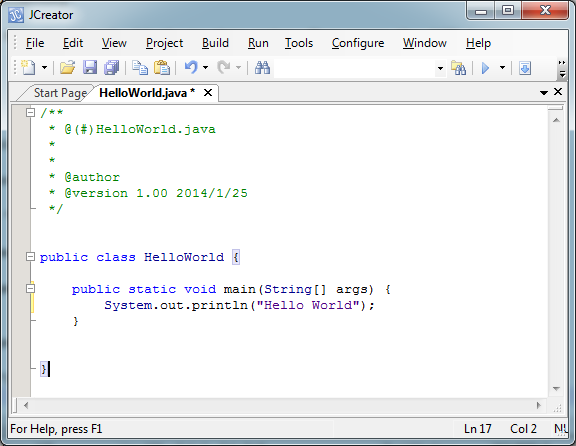
3.1.6. Replace the public HelloWorld() part with public static void main(String[] args).
3.1.7. Type in System.out.println("Hello World"); between the curly brace symbols, as shown below.
3.2. Compile Source Code
3.2.1. Compile your source code by pressing the  icon.
icon.
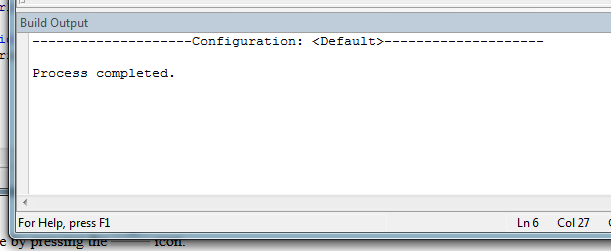
3.2.2. You should see the "Process completed." message in the "Build output" part.
3.3. Run Application
3.3.1. Compile your application by pressing the  icon.
icon.
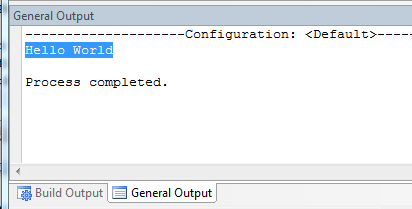
3.3.2. You should see Hello World in the "General output" part.